Our developer, Tom, walks through how to create a feature that allows users to navigate to specifc points in a video using buttons within the content. Part 1
HeX’s Front-End Developer, Tom, talks us through how he ideated, created and finalised a solution for users to effectively navigate to specific sections of a video embedded on our wesbite.
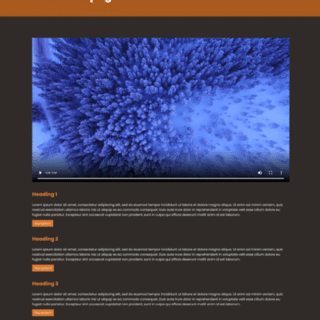
A neat button sits alongside a section of content that explains the section that is being navigated to, allowing the user to pinpoint the information that they would like to view, instead of having to trawl through an entire video
Knowledge required: To read, and be able to understand this blog, it is recommended that you are proficient in the following areas:
- WordPress
- HTML
- Javascript
- ACF Plugin
- PHP
It’s also worth checking out the finished video feature here.
At HeX, we’ve accumulated a lot of videos over the years, whether these are recordings of our Accessibility Nottingham meetup, web seminars or embeds from our YouTube channel, we’ve been looking for ways to host the video and give users the option to navigate to specific points in a video along with accompanying content.
What the user required
As the Front-End Developer at HeX, I was very much looking forward to the challenge and started gathering the requirements for the build. After a bit of research and some discussion, mostly over a pint in the pub, the main requirements were:
- We needed the ability to display videos uploaded to WordPress media library via a HTML5
<video>, and the option to embed a YouTube video using the API. - The video and the controls needed to be accessible.
- We needed to allow users to navigate to specific timestamps in the video and provide an accompanying description of what they were about to view in the content area and, if possible, as a poster on the video itself.
- We wanted the option to display this on a page & a post.
How I designed the solution
In my mind, the layout was going to be very simple; a video displayed at the top of the page followed by a <h2>, </p> and a button for each section of the video we wanted to explain and allow the user to navigate to.
My initial sketch looked like this:
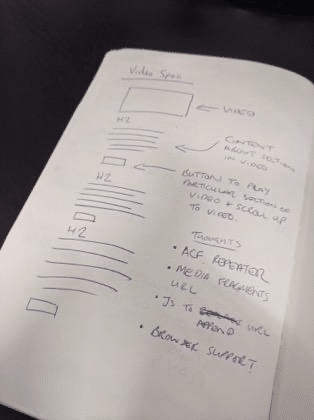
Not too tricky, but I was already considering the technical implementation (which you can probably see in that image), and would often go to bed thinking about how best to tackle the build ahead.
How I went about building this
Our website is a WordPress build with a bespoke theme based on Foundation, and I knew that I’d be relying heavily on the ACF Pro plugin to build out the template part, which could then be called into any page template or post-type.
We would obviously have to use the HTML5 video element for displaying a video from the WordPress media library, provide support for the 3 different filetypes (MP4, WebM & OGV) and provide captions via a VTT file. We offload all our media uploads to an S3 Bucket using the WP Offload Media plugin so storage on the server isn’t an issue, but we also wanted the option to embed a YouTube video via their API.
In order to allow users to watch specific chunks of the videos, we were going to take advantage of media fragments. If you’ve never looked into media fragments before, they’re a really handy tool that allows you to start or end video playback at specific points. The media fragment start/end times are appended to the video src attribute URL to control the playback.
<video controls>
     <source src="https://s3-eu-west-2.amazonaws.com/hex-productions/wp-content/uploads/2019/10/17111410/Aerial-Shot-Of-Forest-Covered-In-Snow.mp4#t=6" type="video/mp4">
</video>
In the example above the video would playback from 6s and continue until the end (#t=6).
<video controls>
     <source src="https://s3-eu-west-2.amazonaws.com/hex-productions/wp-content/uploads/2019/10/17111410/Aerial-Shot-Of-Forest-Covered-In-Snow.mp4#t=6,10" type="video/mp4">
</video>
In the example above the video would playback from 6s and end at 10s (#t=6,10).
In our build, I proposed we would manipulate the <video> src URL by taking the start/end values from the ACF fields, turn them into PHP variables and pass them as arguments to a JavaScript function. This function would be called via an onclick event on each button in the repeater.
Each button would be an anchor element styled with the button class so we could use the ID of the video as the href attribute URL and get a nice smooth scroll up to the video. Our finished button would end up looking something like this in the mark-up:
<a href="#videoId" class="button" onclick='changeVideoSource(<?php echo $video_start_time . "," . $video_end_time . "," . $poster . "," . $poster_display_time; ?>)'><?php echo $button_text; ?></a>The content (<h2>, </p>, <a>, video poster and video start/end time) would all be taken care of by an ACF repeater with multiple subfields.
Building the interface
The Custom field for our video player ended up looking like this in the WordPress CMS:
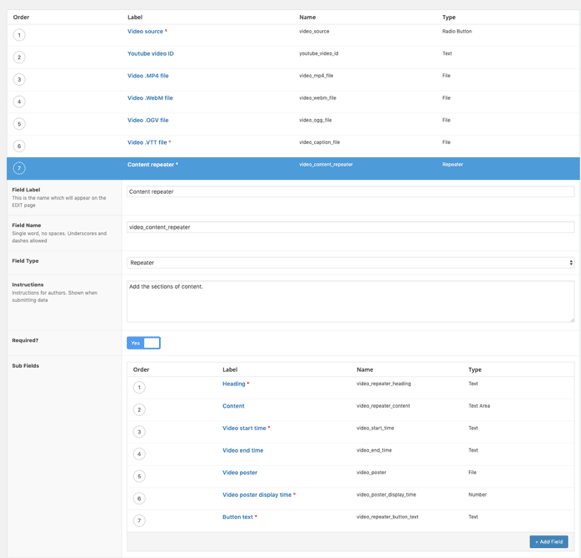
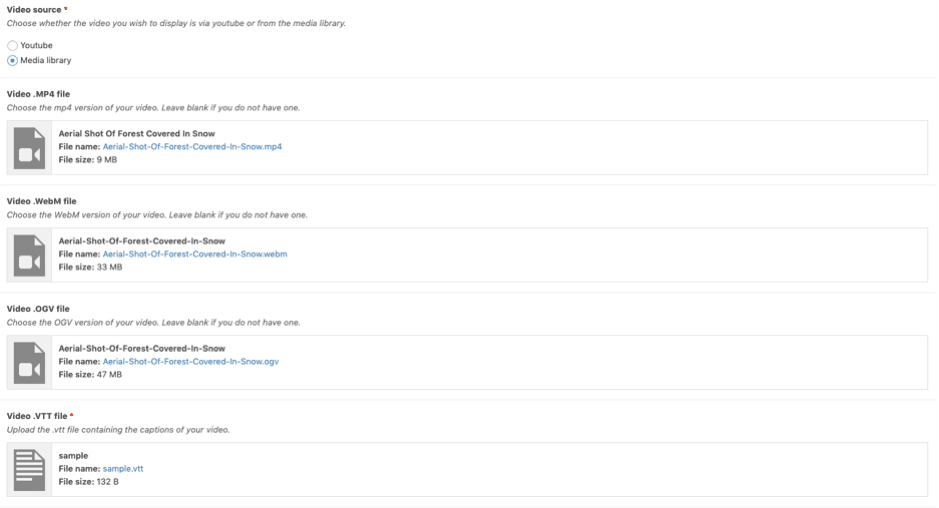
The video ACF has some conditional login included to account for the various video files and sources we allowed. By selecting the YouTube radio button in the Video source field, you are then given the field to enter a YouTube video ID.

Selecting the Media Library radio button displays the file upload fields for MP4, WebM, OGV and VTT files. These all have the return value set as the file URL so we can echo this out in the template. For accessibility purposes the VTT field is a required field so that any video upload will always have captions included.
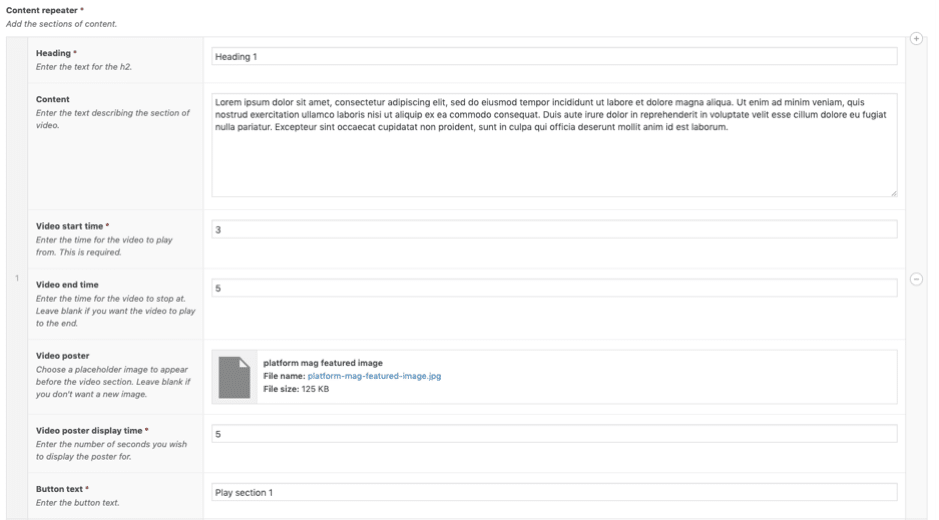
The repeater fields allow the user to add the content, start/end time, the poster to display before each chunk of video and the time (in seconds) to display the poster for.
Whilst building the custom fields for this template part, we also took advantage of the local JSON feature that comes with ACF PRO plugin. By creating an acf-json folder in the root of your theme, all field groups are saved in local JSON files, reducing database calls and allowing easy syncing between development environments.
With our custom fields built and saved, it was time to start building the template-part PHP file and make sure the data from our field was pulling through correctly. This is covered in the next part of this blog series.
Next in the series…
Navigating to specific video timestamps. How it’s done (Part 2)
Our developer, Tom, walks through how to create a feature that allows users to navigate…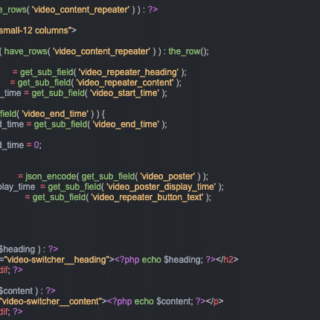